Author: Derek

  • Old Wooden Pier on Koh Samet

    Old Wooden Pier on Koh Samet

    Introduction

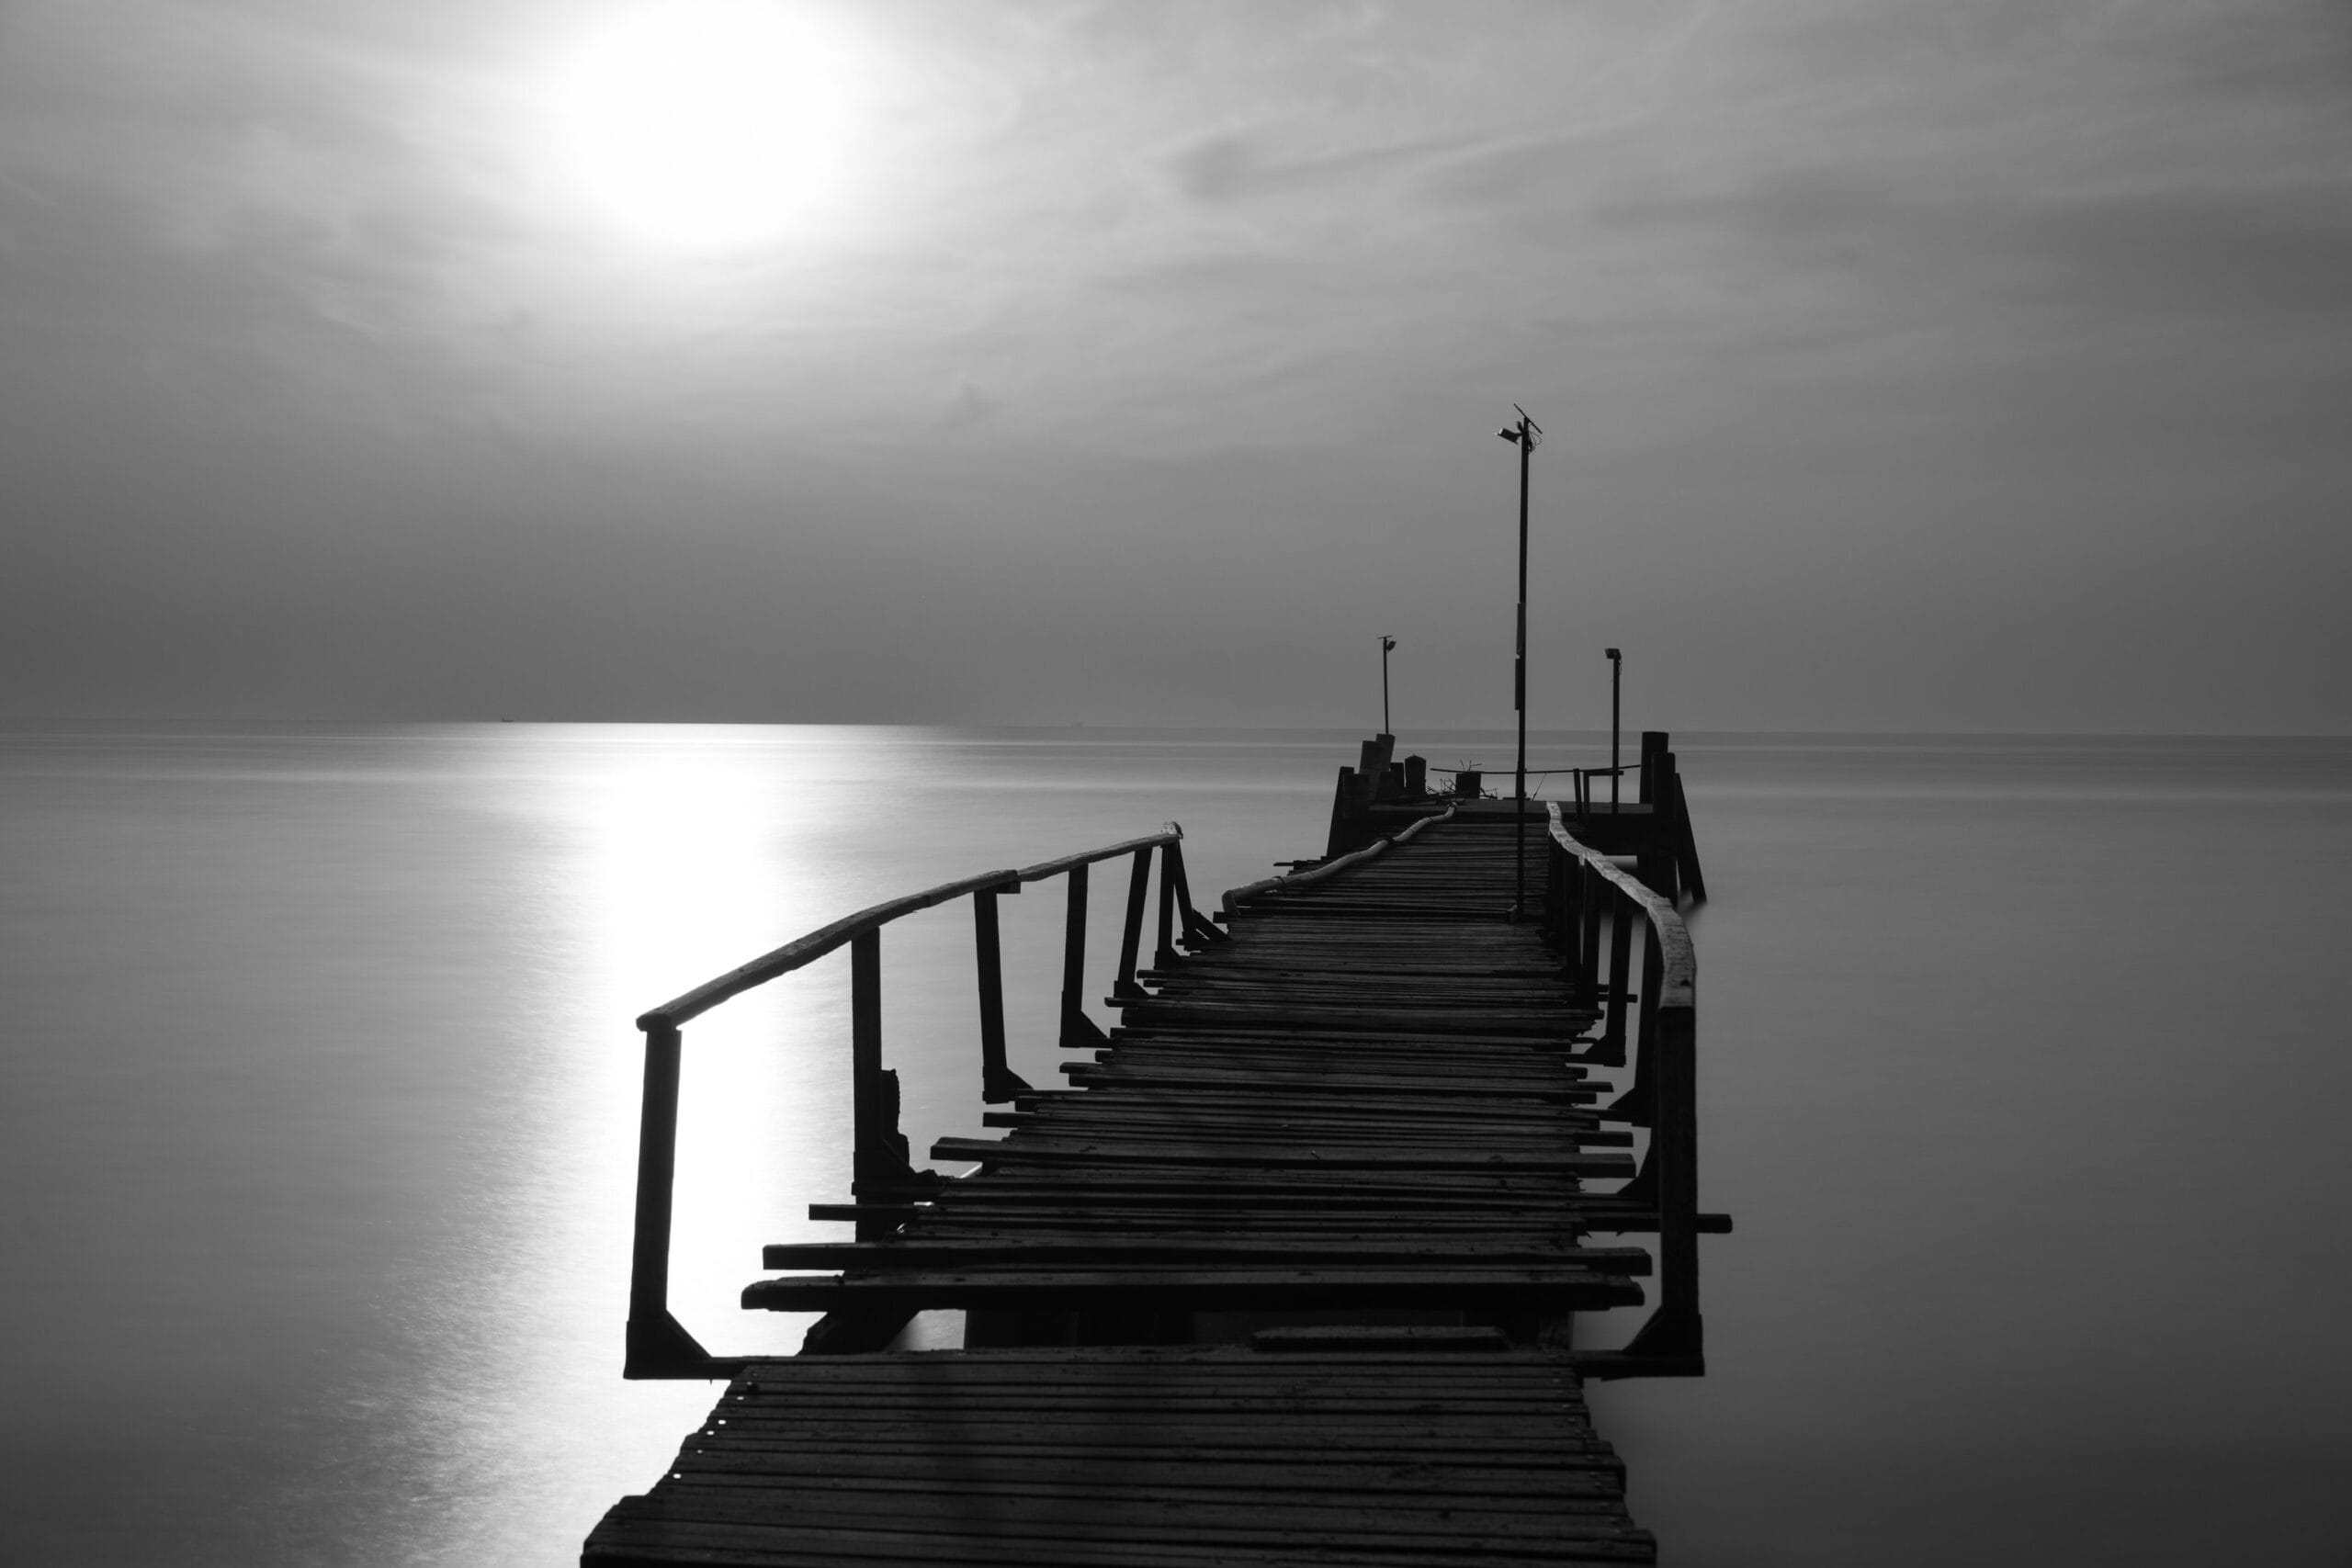
    Koh Samet’s beauty extends beyond its well known beaches. For photographers, the island offers unique, less explored locations perfect for capturing stunning images. This post guides you to one such hidden gem: an old pier that provides an ideal setting for long-exposure photography. Let’s dive straight in!

    Directions

    Getting to Koh Samet

    To get to Koh Samet (or Samed) you need to get to Ban Phe (about 2 1/2 hours drive from Bangkok) on the Thai mainland.  Ferries and small speedboats go from here to Nandan port on Koh Samet.  There are different options depending on where you are staying on the island.  You may find a hotel provides complimentary boat transfer or will organise it for you. 

    Where to stay

    I stayed at the Green Bay Samed Resort on Ao Tin Khok which is ideally placed and also the staff there were very helpful organising a speedboat. The old pier is located at Ao Cho (or Chor) and it would definitely be best to stay on the east coast of Koh Samet particularly if you wish to catch the scene at sunrise.  There are many beautiful beaches and plenty of hotel options on this side of the island.

    The walk to the pier

    Starting from Ao Hin Khok there is a lovely coastal path which follows the beaches and headlands south.  It took me about 30 min walking in the dark to reach Ao Cho.

    Exploring further

    I did venture a bit further south along the coastal path as far as Ao Wong Duean where there is a floating pontoon pier which is obviously no good for this type of long exposure. That’s as far as I went but some maps do indicate there are more piers of some kind at beaches continuing on south.

    Map

    The map below shows part of the north east coast of Koh Samet.

    Responsive Map Embed

    Key

    1️⃣ Green bay Samed Resort at Ao Hin Khok
    2️⃣ The old wooden pier at Ao Cho

    Wrapping up

    I hope you found this post helpful and you get a chance to explore this area, managing to get some great long exposure photographs. Feel free to share your own experiences in the comments below.

    As always if you find any errors in this post I would be very grateful if you would drop me a comment below.

    Best wishes
    Derek

  • Photography with Polarised Light

    Photography with Polarised Light

    Introduction

    Photography with polarised light can yield some surprising results. Polarised light can be produced in a number of ways, including when light is reflected from some surfaces, emitted by screens on devices like laptops or by passing through filters made from particular materials, for example Polaroid sunglasses. In normal daily life, you will not be able to notice whether the light entering your eye is polarised or not. However, in this post, you can explore the creative possibilities of using polarised light. Let’s dive straight in!

    What you need

    • A screen to act as a light source. This could be a mobile phone, tablet or laptop screen

    • Polaroid sunglasses, Polaroid 3-D movie glasses or a polarising filter for a camera

    • A selection of transparent plastic objects such as food boxes, a ruler, plastic cutlery or transparent plastic bag like a food bag

    • Finally a person to help hold things or a tripod to mount the camera on

    What to do

    Using glasses

    Set up the light source screen so that it is mainly white for example by displaying a blank window with a word processor on a laptop. Hold the glasses in front of the screen.

    Rotate the glasses and look for an orientation where light from the screen is dimmed or blocked completely.

    Using a filter

    Set up the light source screen so that it is mainly white for example by displaying a blank window with a word processor on a laptop. Hold the filter in front of the screen or attach it to your camera

    Rotate the filter and look for an orientation where light from the screen is dimmed with a blue tint.

    Adding some plastic

    Without changing the orientation of the glasses or the filter place some transparent plastic in between the screen and the glasses/filter. You should see coloured patterns due to stress in the plastic from its manufacture.

    If you use the transparent plastic bag, cut it into a single layer and then stretch and pull it. Place it between the screen and the glasses/filter and stretch it some more. You should see the coloured patterns change as you pull on the plastic.

    Wrapping up

    I used to teach this effect as part of a physics course. It was one of those lessons that students couldn’t get enough of. Who says physics is boring! I hope you enjoy exploring this exciting phenomenon and here are a few more examples if you wish to take a look.

    As always if you find any errors in this post I would be very grateful if you would drop me a comment below.

    Best wishes
    Derek

  • Point of View and Perspective

    Point of View and Perspective

    Introduction

    For truly captivating photography try exploring point of view (POV) and perspective. This means not just snapping with your camera at eye level but stopping and thinking about placing your camera in a different position. Let’s dive straight right in!

    Go low

    Crouch down for a worm’s-eye view as I did here. Don’t underestimate the power of getting low, really low, with your camera and if there happens to be some water around then you kind of get ‘two for one’ with your composition as in this example shot in an alleyway in Bangkok.

    Go high

    Stretch your arms above your head or go higher if it’s safe to do so. In Bangkok there are often conveniently placed walkways and bridges to take advantage of.

    Go behind

    If there are people near you taking photographs of some scene with their mobiles try getting behind them and include their phones in your shot. A photograph of a group of people holding their phon can make for an interesting composition.

    This works particularly well at an event or spectacle, as here at the Mae Khlong Railway Market. Indeed if there’s a crowd it’s almost impossible not to include other peoples’ phone screens in your shot. Here I focussed on the mobile screen not the scene in the background.

    Go close

    If you are in an area where there are metal surfaces, for example a city walkway with metal sides, then try placing your camera right up against the side with the lens as close as possible to the surface. This works particularly well with a mobile phone actually touching the surface. Depending on the lighting and the location you might get something like this or the banner photograph at the top of the post.

    Wrapping up

    By intentionally choosing your point of view and perspective, you can transform a simple snapshot into a compelling visual narrative, drawing people deeper into the world you’re capturing with your camera. Enjoy exploring POV in your photography.

    As always if you find any errors in this post I would be very grateful if you would drop me a comment below.

    Best wishes
    Derek